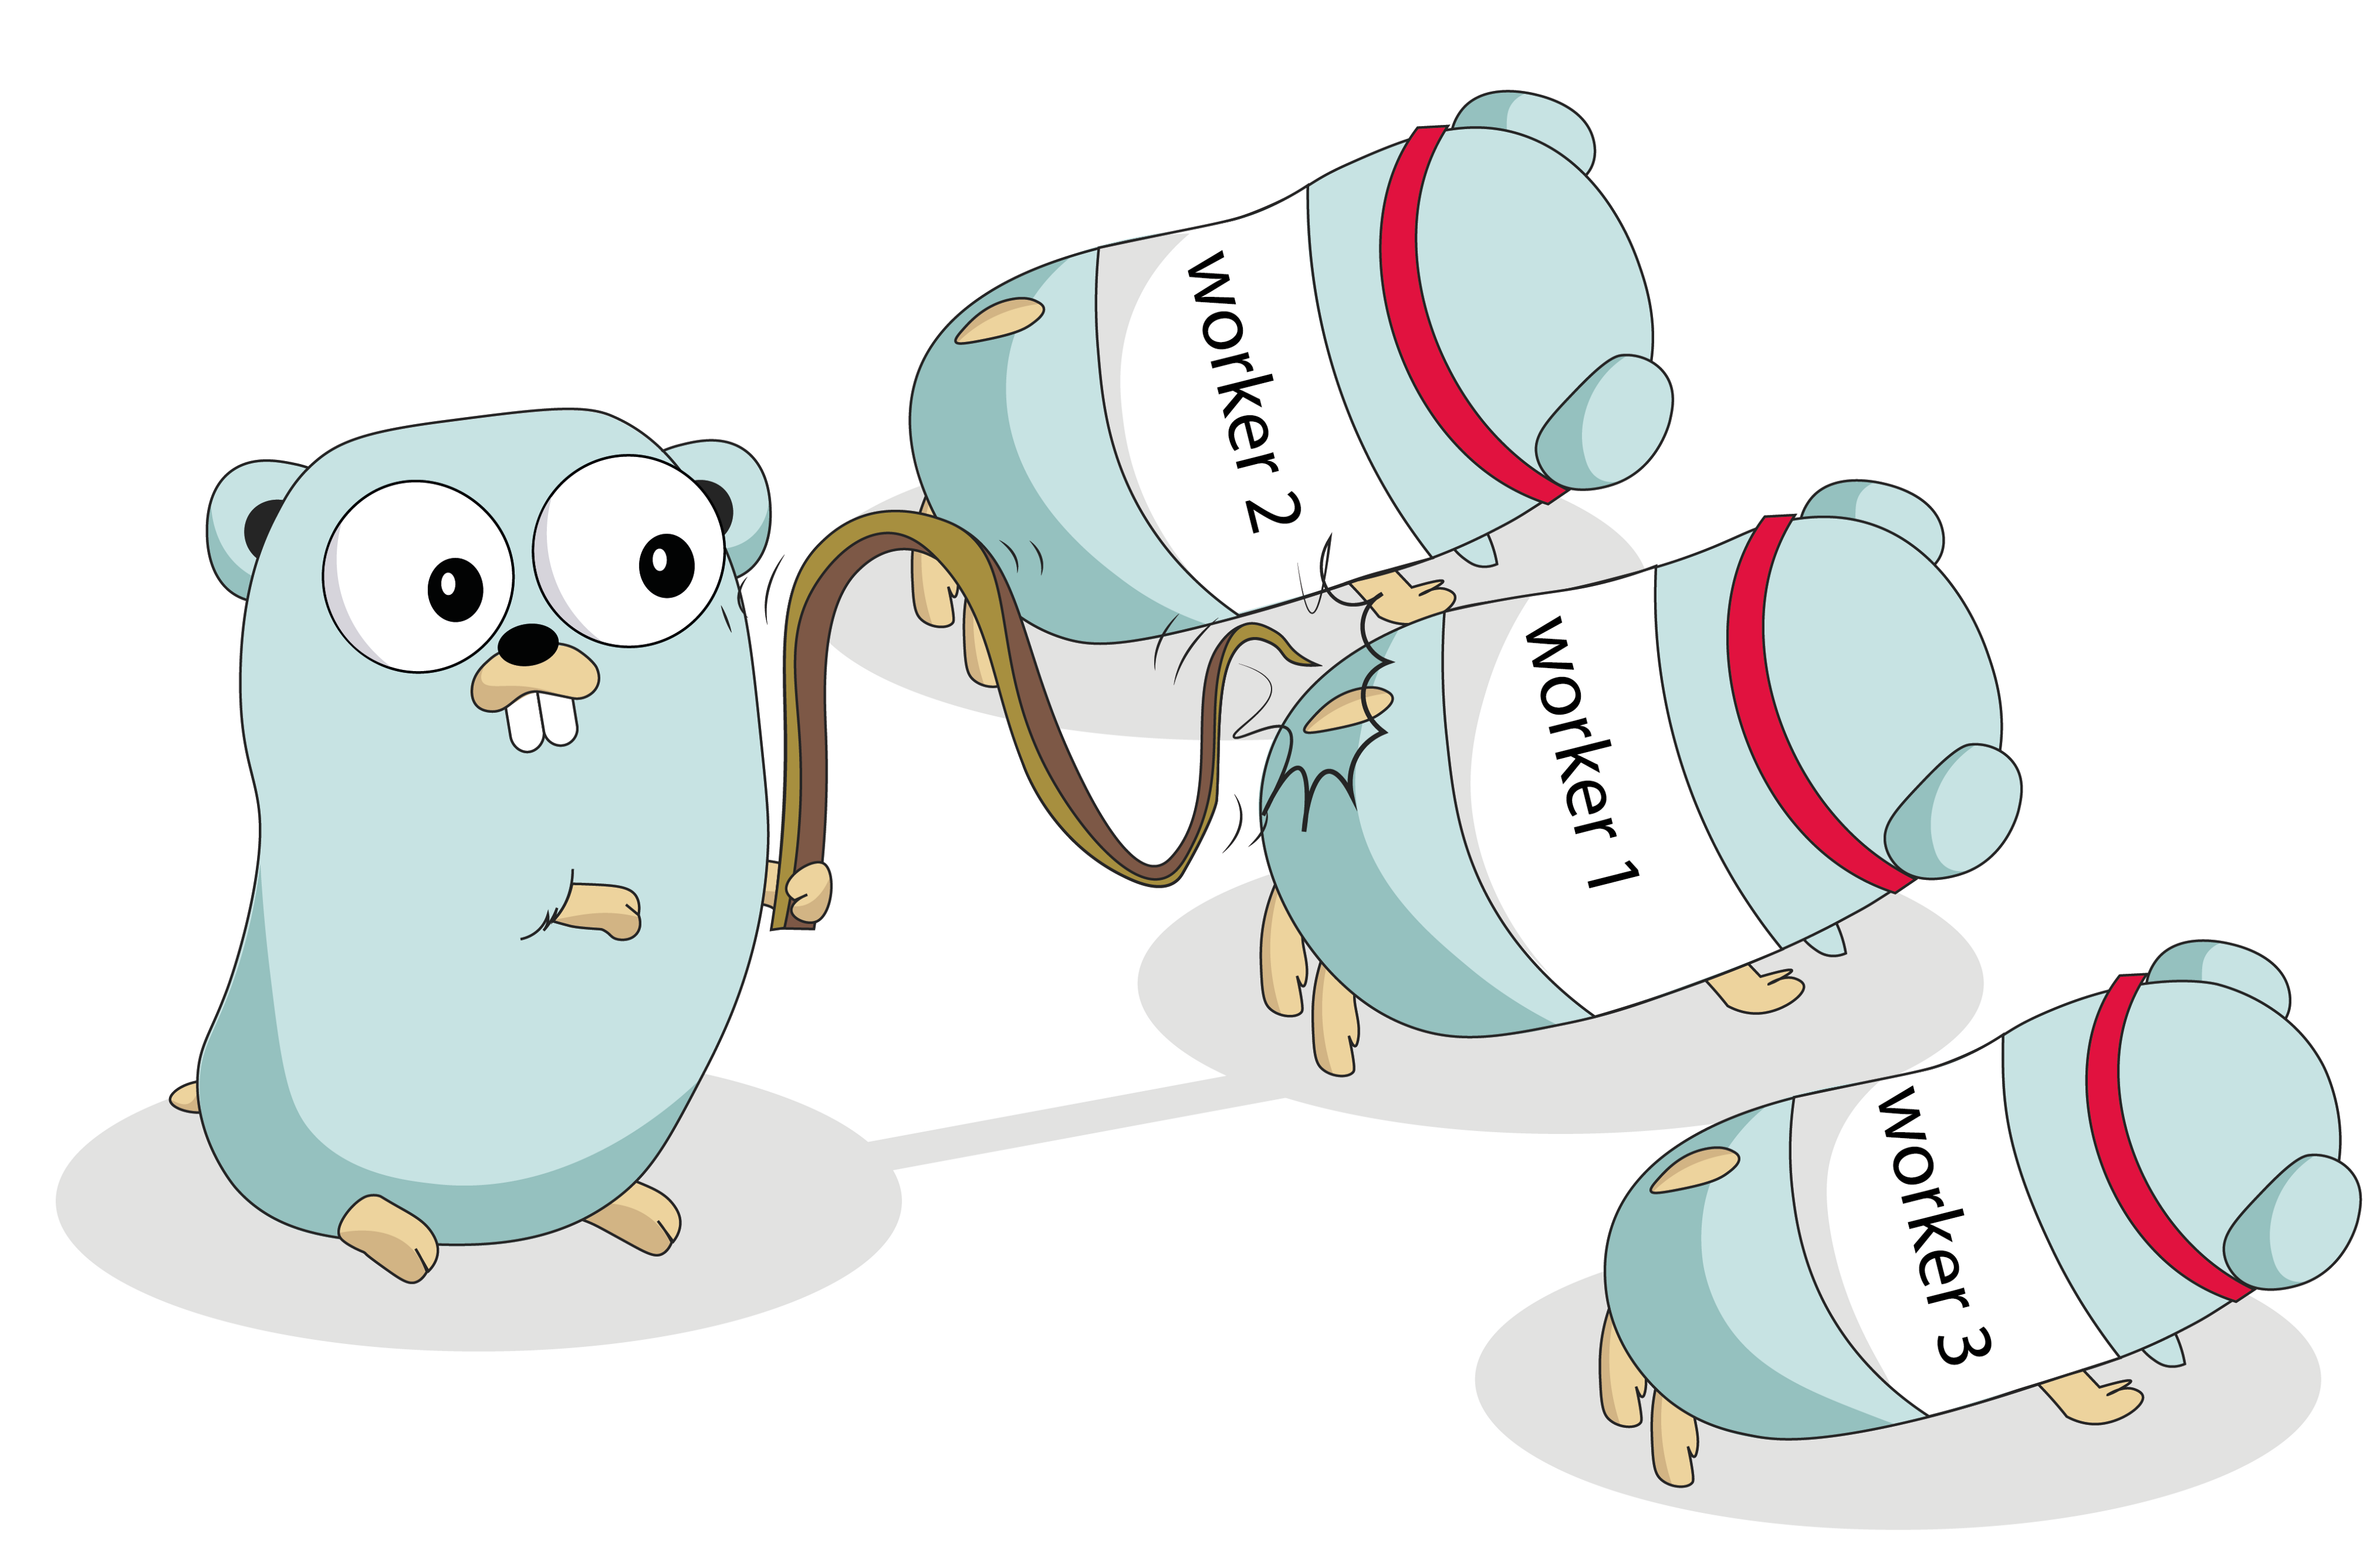
结合Golang聊聊23种设计模式—行为型(3) 责任链模式 责任链模式 是一种行为设计模式, 允许你将请求沿着处理者链进行发送。 收到请求后, 每个处理者均可对请求进行处理, 或将其传递给链上的下个处理者。
责任链模式的英文翻译是 Chain Of Responsibility Design Pattern。
在 GoF 的《设计模式》中,它是这么定义的:Avoid coupling the sender of a request to its receiver by giving more than one object a chance to handle the request. Chain the receiving objects and pass the request along the chain until an object handles it.
翻译成中文就是:将请求的发送和接收解耦,让多个接收对象都有机会处理这个请求。将这些接收对象串成一条链,并沿着这条链传递这个请求,直到链上的某个接收对象能够处理它为止。
这么说比较抽象,我用更加容易理解的话来进一步解读一下。在职责链模式中,多个处理器(也就是刚刚定义中说的“接收对象”)依次处理同一个请求。一个请求先经过 A 处理器处理,然后再把请求传递给 B 处理器,B 处理器处理完后再传递给 C 处理器,以此类推,形成一个链条。链条上的每个处理器各自承担各自的处理职责,所以叫作职责链模式。
为什么要使用责任链 在设计过滤器或者限制器这种会有多种不同的处理器进行排列组合的逻辑时,如果使用if-else这种语句来实现那么就会出现具体逻辑和上层结构耦合的现象,而且每次用不同的过滤逻辑时都要重复的写一遍代码即使只时增加了一个过滤都会导致过滤逻辑的重写,这时候责任链模式就出现了,把过滤逻辑封装在单一的类中,你可以灵活的拓展和缩减,在使用不同的逻辑组合时也可以服用代码快速实现。
代码示例 让我们来看看一个医院应用的责任链模式例子。 医院中会有多个部门, 如:
病人来访时, 他们首先都会去前台, 然后是看医生、 取药, 最后结账。 也就是说, 病人需要通过一条部门链, 每个部门都在完成其职能后将病人进一步沿着链条输送。
此模式适用于有多个候选选项处理相同请求的情形, 适用于不希望客户端选择接收者 (因为多个对象都可处理请求) 的情形, 还适用于想将客户端同接收者解耦时。 客户端只需要链中的首个元素即可。
正如示例中的医院, 患者在到达后首先去的就是前台。 然后根据患者的当前状态, 前台会将其指向链上的下一个处理者。
department.go: 处理者接口1 2 3 4 5 type Department interface { execute(*Patient) bool setNext(Department) getNext() Department }
reception.go: 具体处理者1 2 3 4 5 6 7 8 9 10 11 12 13 14 15 16 17 18 19 20 type Reception struct { next Department } func (r *Reception) execute (p *Patient) bool if p.BodyWrong { fmt.Println("Reception: Patient has body wrong" ) return false } fmt.Println("Reception: Patient has no body wrong" ) return true } func (r *Reception) setNext (next Department) r.next = next } func (r *Reception) getNext () Department return r.next }
doctor.go: 具体处理者1 2 3 4 5 6 7 8 9 10 11 12 13 14 15 16 17 18 19 20 type Doctor struct { next Department } func (d *Doctor) execute (p *Patient) bool if p.BodyWrong { fmt.Println("Reception: Patient has body wrong" ) return false } fmt.Println("Reception: Patient has no body wrong" ) return true } func (d *Doctor) setNext (next Department) d.next = next } func (d *Doctor) getNext () Department return d.next }
medical.go: 具体处理者1 2 3 4 5 6 7 8 9 10 11 12 13 14 15 16 17 18 19 20 type Medical struct { next Department } func (m *Medical) execute (p *Patient) bool if p.BodyWrong { fmt.Println("Reception: Patient has body wrong" ) return false } fmt.Println("Reception: Patient has no body wrong" ) return true } func (m *Medical) setNext (next Department) m.next = next } func (m *Medical) getNext () Department return m.next }
cashier.go: 具体处理者1 2 3 4 5 6 7 8 9 10 11 12 13 14 15 16 17 18 19 20 21 22 23 24 25 26 27 type CashierChain struct { head Department } func NewCashierChain () *CashierChain return &CashierChain{ head: nil , } } func (c *CashierChain) execute (p *Patient) bool for i := c.head; i != nil ; i = i.getNext() { if !i.execute(p) { return false } } return true } func (c *CashierChain) AddDepartment (d Department) if c.head == nil { c.head = d return } c.head.setNext(d) }
patient.go 1 2 3 4 type Patient struct { name string BodyWrong bool }
main.go: 客户端代码1 2 3 4 5 6 7 8 9 10 11 12 13 14 15 16 17 18 19 func main () reception := &Reception{} doctor := &Doctor{} medical := &Medical{} cashierChain := NewCashierChain() cashierChain.AddDepartment(reception) cashierChain.AddDepartment(doctor) cashierChain.AddDepartment(medical) patient := &Patient{name: "Tom" , BodyWrong: true } res := cashierChain.execute(patient) if res { fmt.Println("Patient done" ) } else { fmt.Println("Patient doesn't done" ) } }
场景 当程序需要使用不同方式处理不同种类请求, 而且请求类型和顺序预先未知时, 可以使用责任链模式。
该模式能将多个处理者连接成一条链。 接收到请求后, 它会 “询问” 每个处理者是否能够对其进行处理。 这样所有处理者都有机会来处理请求。
当必须按顺序执行多个处理者时, 可以使用该模式。
无论你以何种顺序将处理者连接成一条链, 所有请求都会严格按照顺序通过链上的处理者。
如果所需处理者及其顺序必须在运行时进行改变, 可以使用责任链模式。
如果在处理者类中有对引用成员变量的设定方法, 你将能动态地插入和移除处理者, 或者改变其顺序
优点
你可以控制请求处理的顺序。
单一职责原则 。 你可对发起操作和执行操作的类进行解耦。开闭原则 。 你可以在不更改现有代码的情况下在程序中新增处理者。
缺点
迭代器模式 迭代器模式 是一种行为设计模式, 让你能在不暴露集合底层表现形式 (列表、 栈和树等) 的情况下遍历集合中所有的元素。
为什么要使用迭代器模式 大部分集合使用简单列表存储元素。 但有些集合还会使用栈、 树、 图和其他复杂的数据结构。
无论集合的构成方式如何, 它都必须提供某种访问元素的方式, 便于其他代码使用其中的元素。 集合应提供一种能够遍历元素的方式, 且保证它不会周而复始地访问同一个元素。
如果你的集合基于列表, 那么这项工作听上去仿佛很简单。 但如何遍历复杂数据结构 (例如树) 中的元素呢? 例如, 今天你需要使用深度优先算法来遍历树结构, 明天可能会需要广度优先算法; 下周则可能会需要其他方式 (比如随机存取树中的元素)。
不断向集合中添加遍历算法会模糊其 “高效存储数据” 的主要职责。 此外, 有些算法可能是根据特定应用订制的, 将其加入泛型集合类中会显得非常奇怪。
另一方面, 使用多种集合的客户端代码可能并不关心存储数据的方式。 不过由于集合提供不同的元素访问方式, 你的代码将不得不与特定集合类进行耦合。
这时候跌代器模式就可以派上用场啦。
代码示例 迭代器模式的主要思想是将集合背后的迭代逻辑提取至不同的、 名为迭代器的对象中。 此迭代器提供了一种泛型方法, 可用于在集合上进行迭代, 而又不受其类型影响。
collection.go: 集合1 2 3 4 5 package maintype Collection interface { createIterator() Iterator }
userCollection.go: 具体集合1 2 3 4 5 6 7 8 9 10 11 package maintype UserCollection struct { users []*User } func (u *UserCollection) createIterator () Iterator return &UserIterator{ users: u.users, } }
iterator.go: 迭代器1 2 3 4 5 6 package maintype Iterator interface { hasNext() bool getNext() *User }
userIterator.go: 具体迭代器1 2 3 4 5 6 7 8 9 10 11 12 13 14 15 16 17 18 19 20 21 22 package maintype UserIterator struct { index int users []*User } func (u *UserIterator) hasNext () bool if u.index < len (u.users) { return true } return false } func (u *UserIterator) getNext () *User if u.hasNext() { user := u.users[u.index] u.index++ return user } return nil
user.go: 客户端代码1 2 3 4 5 6 package maintype User struct { name string age int }
main.go: 客户端代码1 2 3 4 5 6 7 8 9 10 11 12 13 14 15 16 17 18 19 20 21 22 23 24 25 26 package mainimport "fmt" func main () user1 := &User{ name: "a" , age: 30 , } user2 := &User{ name: "b" , age: 20 , } userCollection := &UserCollection{ users: []*User{user1, user2}, } iterator := userCollection.createIterator() for iterator.hasNext() { user := iterator.getNext() fmt.Printf("User is %+v\n" , user) } }
output.txt: 执行结果1 2 User is &{name:a age:30} User is &{name:b age:20}
场景 当集合背后为复杂的数据结构, 且你希望对客户端隐藏其复杂性时 (出于使用便利性或安全性的考虑), 可以使用迭代器模式。
迭代器封装了与复杂数据结构进行交互的细节, 为客户端提供多个访问集合元素的简单方法。 这种方式不仅对客户端来说非常方便, 而且能避免客户端在直接与集合交互时执行错误或有害的操作, 从而起到保护集合的作用。
使用该模式可以减少程序中重复的遍历代码。
重要迭代算法的代码往往体积非常庞大。 当这些代码被放置在程序业务逻辑中时, 它会让原始代码的职责模糊不清, 降低其可维护性。 因此, 将遍历代码移到特定的迭代器中可使程序代码更加精炼和简洁。
如果你希望代码能够遍历不同的甚至是无法预知的数据结构, 可以使用迭代器模式。
该模式为集合和迭代器提供了一些通用接口。 如果你在代码中使用了这些接口, 那么将其他实现了这些接口的集合和迭代器传递给它时, 它仍将可以正常运行。
优点
单一职责原则 。 通过将体积庞大的遍历算法代码抽取为独立的类, 你可对客户端代码和集合进行整理。开闭原则 。 你可实现新型的集合和迭代器并将其传递给现有代码, 无需修改现有代码。你可以并行遍历同一集合, 因为每个迭代器对象都包含其自身的遍历状态。
相似的, 你可以暂停遍历并在需要时继续。
缺点
如果你的程序只与简单的集合进行交互, 应用该模式可能会矫枉过正。
对于某些特殊集合, 使用迭代器可能比直接遍历的效率低。
备忘录模式 备忘录模式,也叫快照(Snapshot)模式 ,英文翻译是 Memento Design Pattern。
在 GoF 的《设计模式》一书中,备忘录模式是这么定义的:Captures and externalizes an object’s internal state so that it can be restored later, all without violating encapsulation.
翻译成中文就是:在不违背封装原则的前提下,捕获一个对象的内部状态,并在该对象之外保存这个状态,以便之后恢复对象为先前的状态。在我看来,这个模式的定义主要表达了两部分内容。一部分是,存储副本以便后期恢复。这一部分很好理解。另一部分是,要在不违背封装原则的前提下,进行对象的备份和恢复
为什么要使用备忘录模式 当我门要对一些复杂的对象进行备份以实现回滚等功能时,快照与备份对象之间就产生了访问问题,如果对象的一些私有数据需要备份但快照又无法访问这就需要进行快照和备份类之间的特殊处理,这样这两个角色就产生了依赖关系,形成了耦合,为了解决这个问题我们要使用备忘录模式。
代码示例 备忘录模式让我们可以保存对象状态的快照。 你可使用这些快照来将对象恢复到之前的状态。 这在需要在对象上实现撤销-重做操作时非常实用。
originator.go: 原发器1 2 3 4 5 6 7 8 9 10 11 12 13 14 15 16 17 18 19 20 21 package maintype Originator struct { state string } func (e *Originator) createMemento () *Memento return &Memento{state: e.state} } func (e *Originator) restoreMemento (m *Memento) e.state = m.getSavedState() } func (e *Originator) setState (state string ) e.state = state } func (e *Originator) getState () string return e.state }
memento.go: 备忘录1 2 3 4 5 6 7 8 9 package maintype Memento struct { state string } func (m *Memento) getSavedState () string return m.state }
caretaker.go: 负责人1 2 3 4 5 6 7 8 9 10 11 12 13 package maintype Caretaker struct { mementoArray []*Memento } func (c *Caretaker) addMemento (m *Memento) c.mementoArray = append (c.mementoArray, m) } func (c *Caretaker) getMemento (index int ) *Memento return c.mementoArray[index] }
main.go: 客户端代码1 2 3 4 5 6 7 8 9 10 11 12 13 14 15 16 17 18 19 20 21 22 23 24 25 26 27 28 29 30 31 32 package mainimport "fmt" func main () caretaker := &Caretaker{ mementoArray: make ([]*Memento, 0 ), } originator := &Originator{ state: "A" , } fmt.Printf("Originator Current State: %s\n" , originator.getState()) caretaker.addMemento(originator.createMemento()) originator.setState("B" ) fmt.Printf("Originator Current State: %s\n" , originator.getState()) caretaker.addMemento(originator.createMemento()) originator.setState("C" ) fmt.Printf("Originator Current State: %s\n" , originator.getState()) caretaker.addMemento(originator.createMemento()) originator.restoreMemento(caretaker.getMemento(1 )) fmt.Printf("Restored to State: %s\n" , originator.getState()) originator.restoreMemento(caretaker.getMemento(0 )) fmt.Printf("Restored to State: %s\n" , originator.getState()) }
output.txt: 执行结果1 2 3 4 5 originator Current State: A originator Current State: B originator Current State: C Restored to State: B Restored to State: A
场景 当你需要创建对象状态快照来恢复其之前的状态时, 可以使用备忘录模式。
备忘录模式允许你复制对象中的全部状态 (包括私有成员变量), 并将其独立于对象进行保存。 尽管大部分人因为 “撤销” 这个用例才记得该模式, 但其实它在处理事务 (比如需要在出现错误时回滚一个操作) 的过程中也必不可少。
当直接访问对象的成员变量、 获取器或设置器将导致封装被突破时, 可以使用该模式。
备忘录让对象自行负责创建其状态的快照。 任何其他对象都不能读取快照, 这有效地保障了数据的安全性。
优点
你可以在不破坏对象封装情况的前提下创建对象状态快照。
你可以通过让负责人维护原发器状态历史记录来简化原发器代码。
缺点
如果客户端过于频繁地创建备忘录, 程序将消耗大量内存。
负责人必须完整跟踪原发器的生命周期, 这样才能销毁弃用的备忘录。
绝大部分动态编程语言 (例如 PHP、 Python 和 JavaScript) 不能确保备忘录中的状态不被修改。


